Set up T-POT honeypot in the cloud in less than 30 minutes
13 June 2022 | by Xavier Bellekens
Why do you need a honeypot ?
A honeypot is a decoy system used to lure potential attackers and gather information about their activities. By placing a honeypot in the cloud or in your network, you can track and monitor attempts to access it, giving you valuable insights into the methods and motives of malicious actors.
🍯 Check out our list of the best open source honeypots.
In addition, honeypots can often be used to distract and divert attackers away from more critical systems. As a result, honeypots can play an important role in protecting your network from both sophisticated and amateur attacks. There are many types of honeypots available, so it’s important to choose one that’s appropriate for your needs. However, even a simple honeypot can be an effective tool for augmenting your security posture.
T-Pot honeypot
In this example, we will deploy T-Pot in the cloud. T-pot is an open source project that has been started by people at Deutsche Telekom. It combines some really great technologies, such as Docker and Elasticsearch to name just a few!
T-Pot is the all in one, optionally distributed, multiarch (amd64, arm64) honeypot platform, supporting 20+ honeypots and countless visualization options using the Elastic Stack, animated live attack maps and lots of security tools to further improve the deception experience.
Deutsche Telekom Security GmbH
Today, we will be using Vultr as our platform of choice. There are many other public clouds out there that you can choose from, however, Vultr is very easy to use and only takes a couple of seconds to launch a virtual machine.
Getting started on Vultr
- Create an account on Vultr.com, you can also get free $100 credits which will help you last about 2 months with T-Pot.
- See if you qualify here
Create a virtual machine
The process to create a virtual machine is simple, click on the ‘+’ icon at the top.

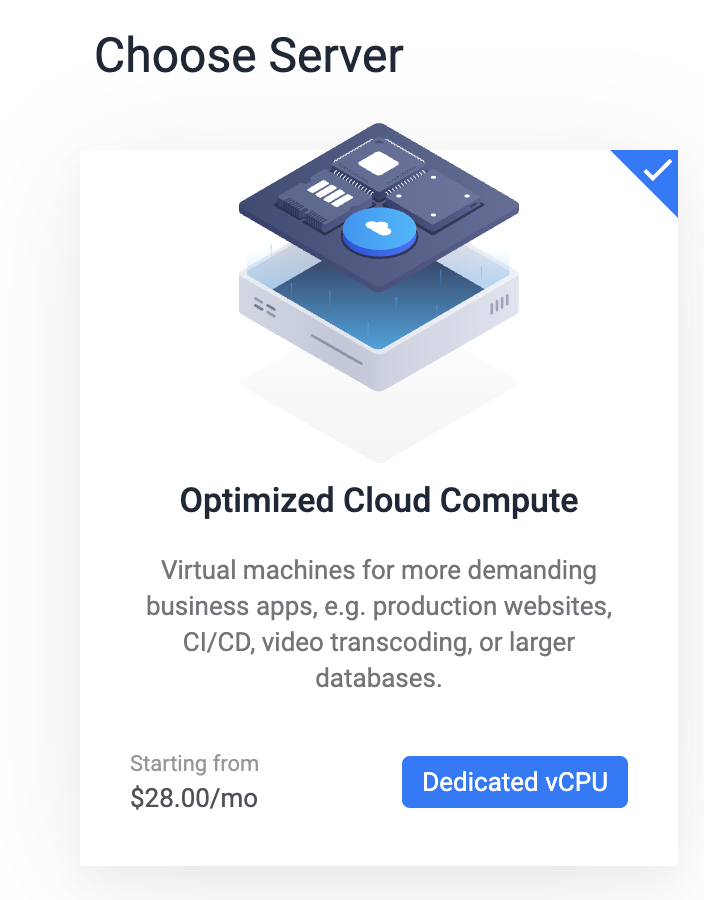
Choose the type of machines you want, in our case we will use a simple optimized cloud compute server.
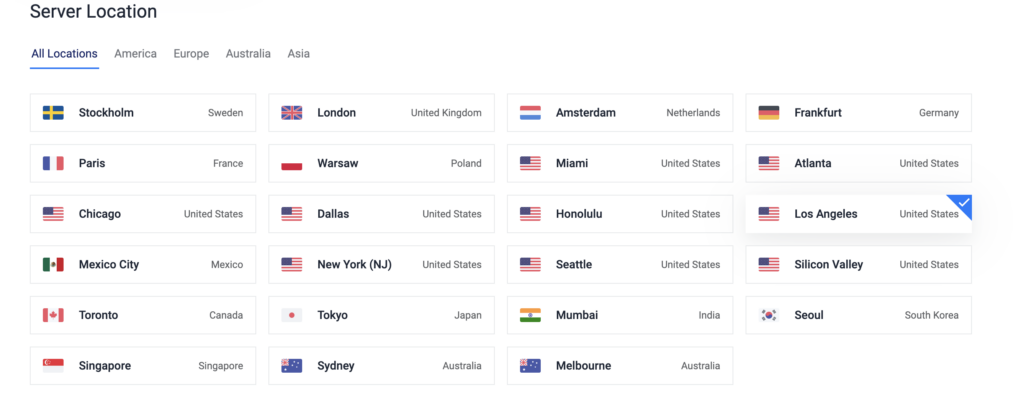
You can then choose the location of the server, we have chosen Los Angeles. It’s worth remembering that the location may partially influence the type of attacks seen.
Once the location chosen, you can select Ubuntu 22.04 LTS as the operating system to use.

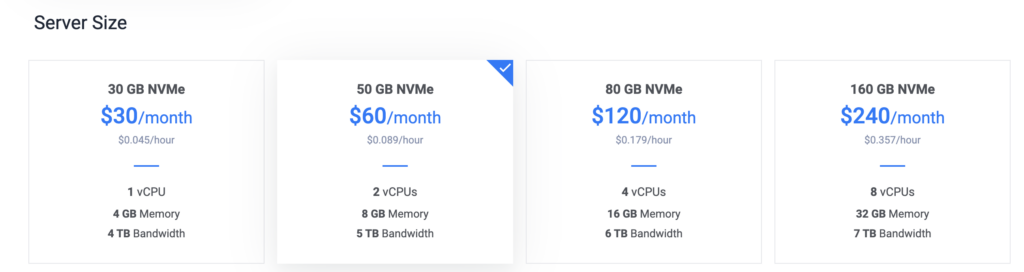
We chose 2vCPUs, 8GB of RAM and about 5TB of bandwidth for the server, this will give us enough resources to run it without any issues.
Finally, you can give an interesting hostname to the honeypot to be deployed.

A couple of minutes later, your virtual machine will be ready to be used. One of the best features of Vultr, is the ability to log in the virtual machine from the web interface.

First and foremost, let’s make sure the VM is up-to-date with the following command line
sudo apt update && sudo apt upgrade -yOnce the update is finished, you can install git, this will allow you to clone T-pot repository from GitHub.
sudo apt install git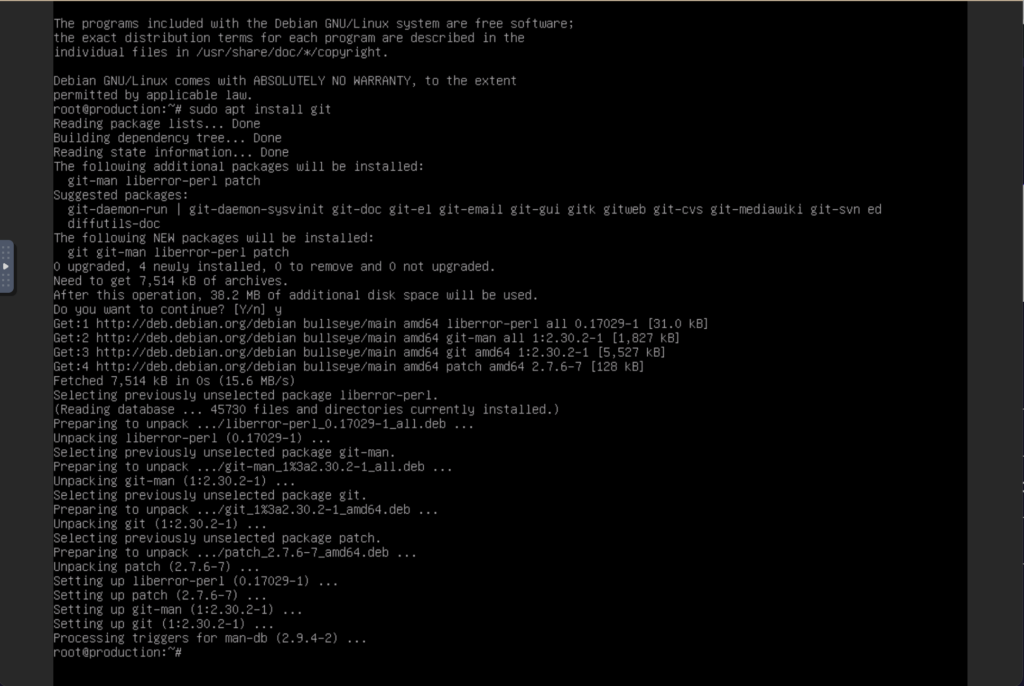
After having installed git, you are now ready to clone the T-pot repository with the following command line
sudo git clone https://github.com/dtag-dev-sec/tpotceYou can then install T-pot with the following command
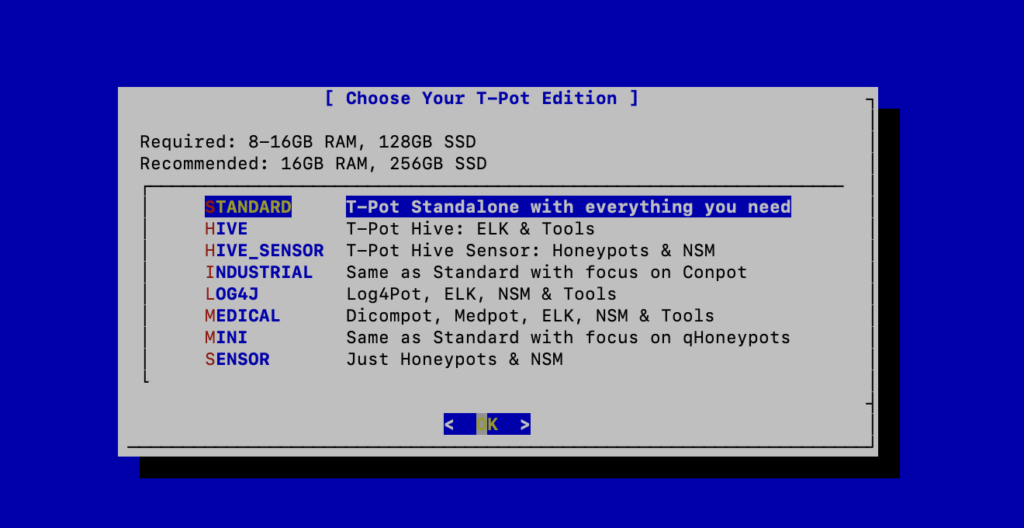
sudo tpotce/iso/installer/install.sh --type=userUpon execution, you will have to confirm all the services you want to enable. Press ‘Y’ and continue.

For the purpose of this installation, we chose the standard T-POT installation, however, you can also install honeypots with a specific focus such as LOG4J or MEDICAL applications.
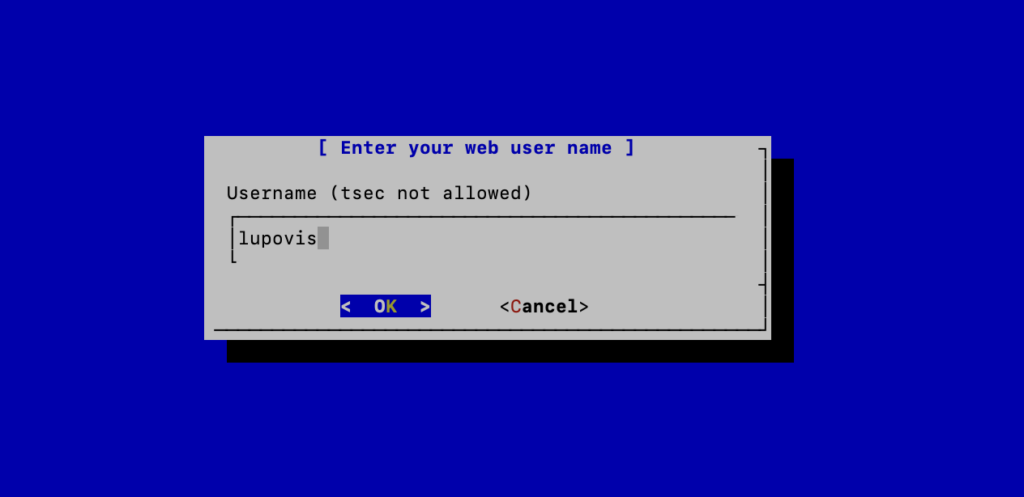
Choose your username, password and voilà.
T-pot should now be installing for a couple of minutes.
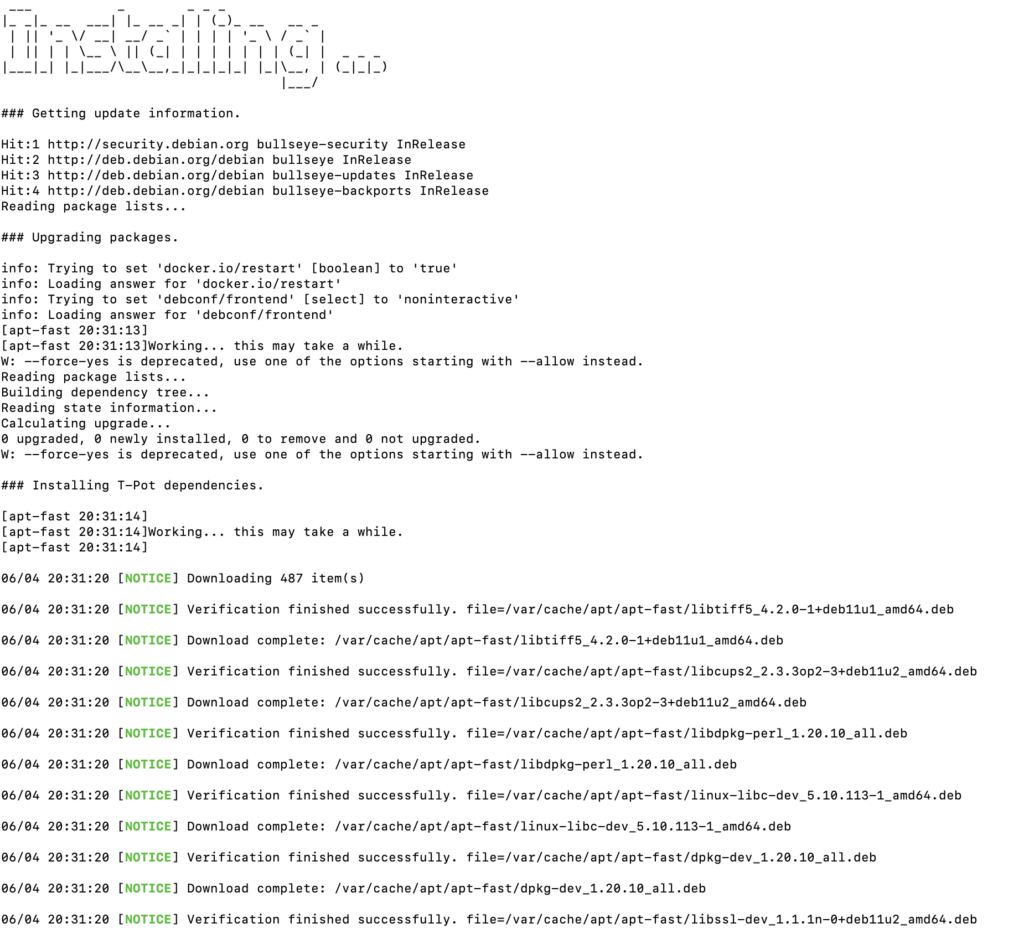
Once the installation complete, you will have to reboot the system.
Accessing T-POT in the Cloud
Now that you have a working version of T-pot in the cloud, you can access the Web Interface and start collecting information.
Your IP address followed by the management interface port 64297
i.e., xxx.xxx.xxx.xxx:64297
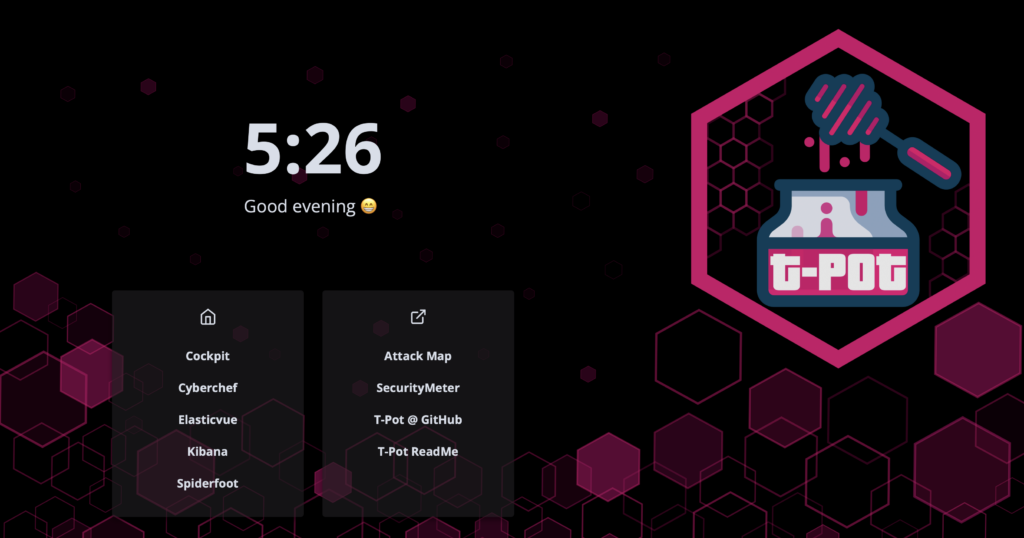
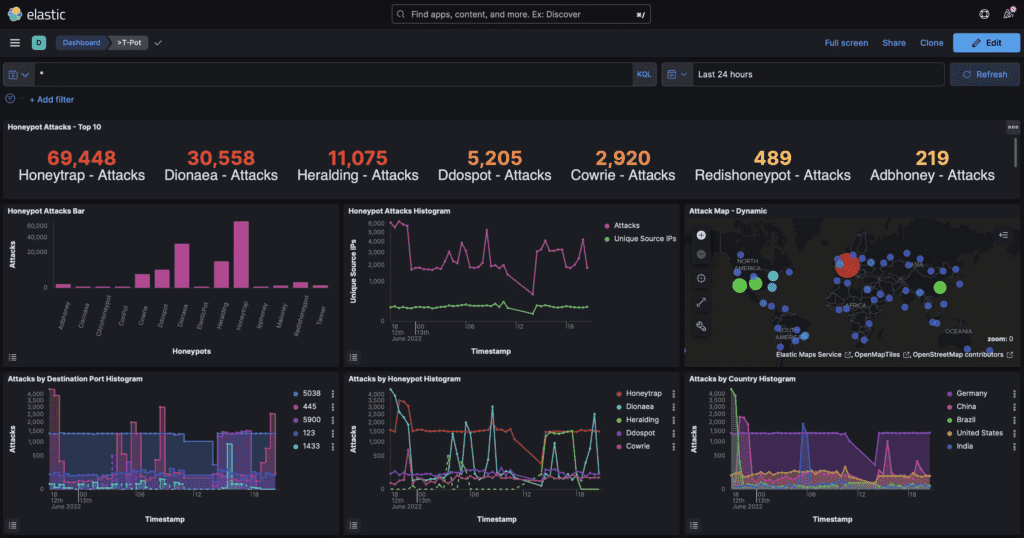
In order to see what is collected by the different honeypots, you can click on Kibana and head to the various dashboards offered.
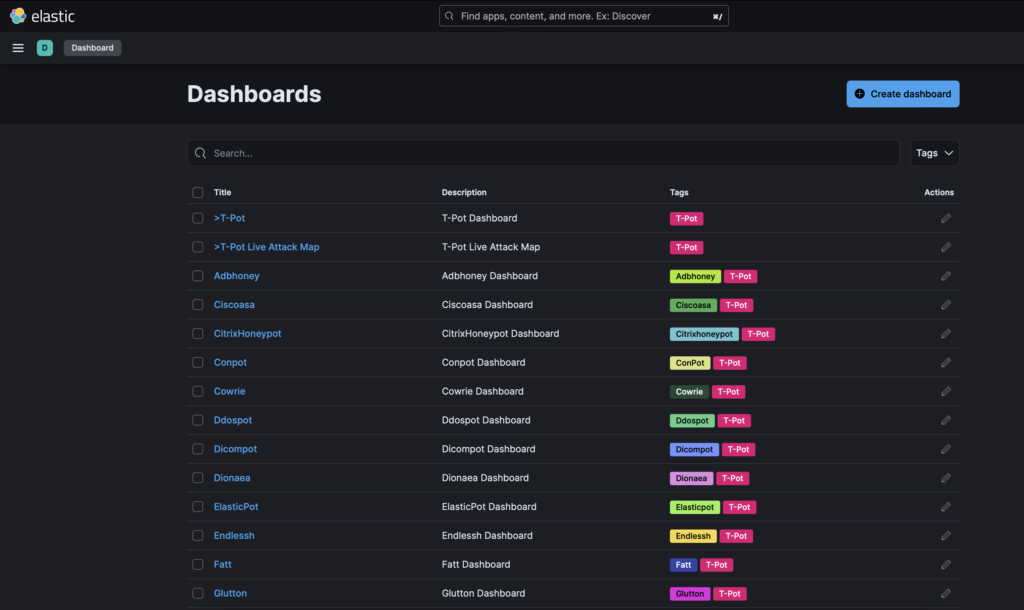
In order to have a global view, you can select T-pot or T-Pot Live Attack Map, for a specific honeypot dashboard, simply click on the honeypot name.
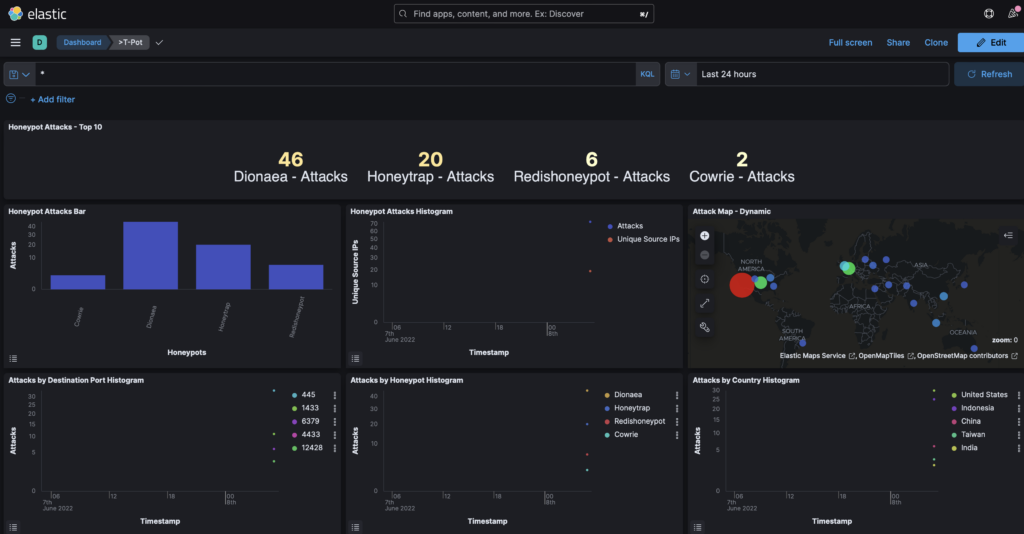
Minutes after having installed t-pot you can already obtain information on the honeypots targeted by attacks.
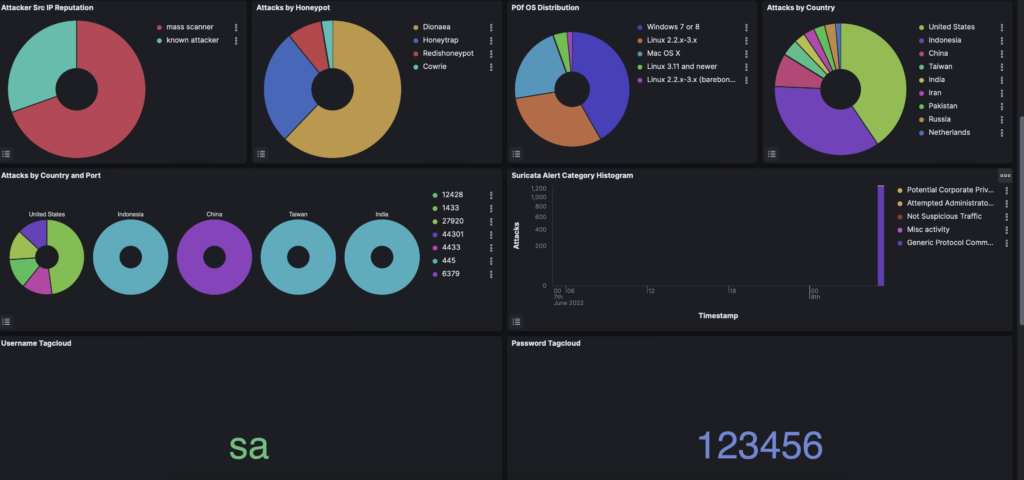
You can see that the largest proportion of attacks originate from mass scanners, and have already tried one password and username.
Honeypots require some work, but if you’re looking for an easy way to get started with cyber deception T-POT in the cloud is an easy way to get started.
However, when you’re ready to take your deception technology skills to the next level, give us a shout. In our snare platform, you can quickly and easily gather data that is meaningful to your organization and start thwarting attacks in minutes. Remember, it takes a village (or at least a team of experts) to raise a child – or in this case, secure an organization. So don’t do it alone; reach out to Lupovis and let us help you become a deception technology master!
13 June 2022 | by Xavier Bellekens


Speak to an Expert
Whether you have a specific security issue or are looking for more information on our Deception as a Service platform, simply request a call back with one of our security experts, at a time that suits you.